
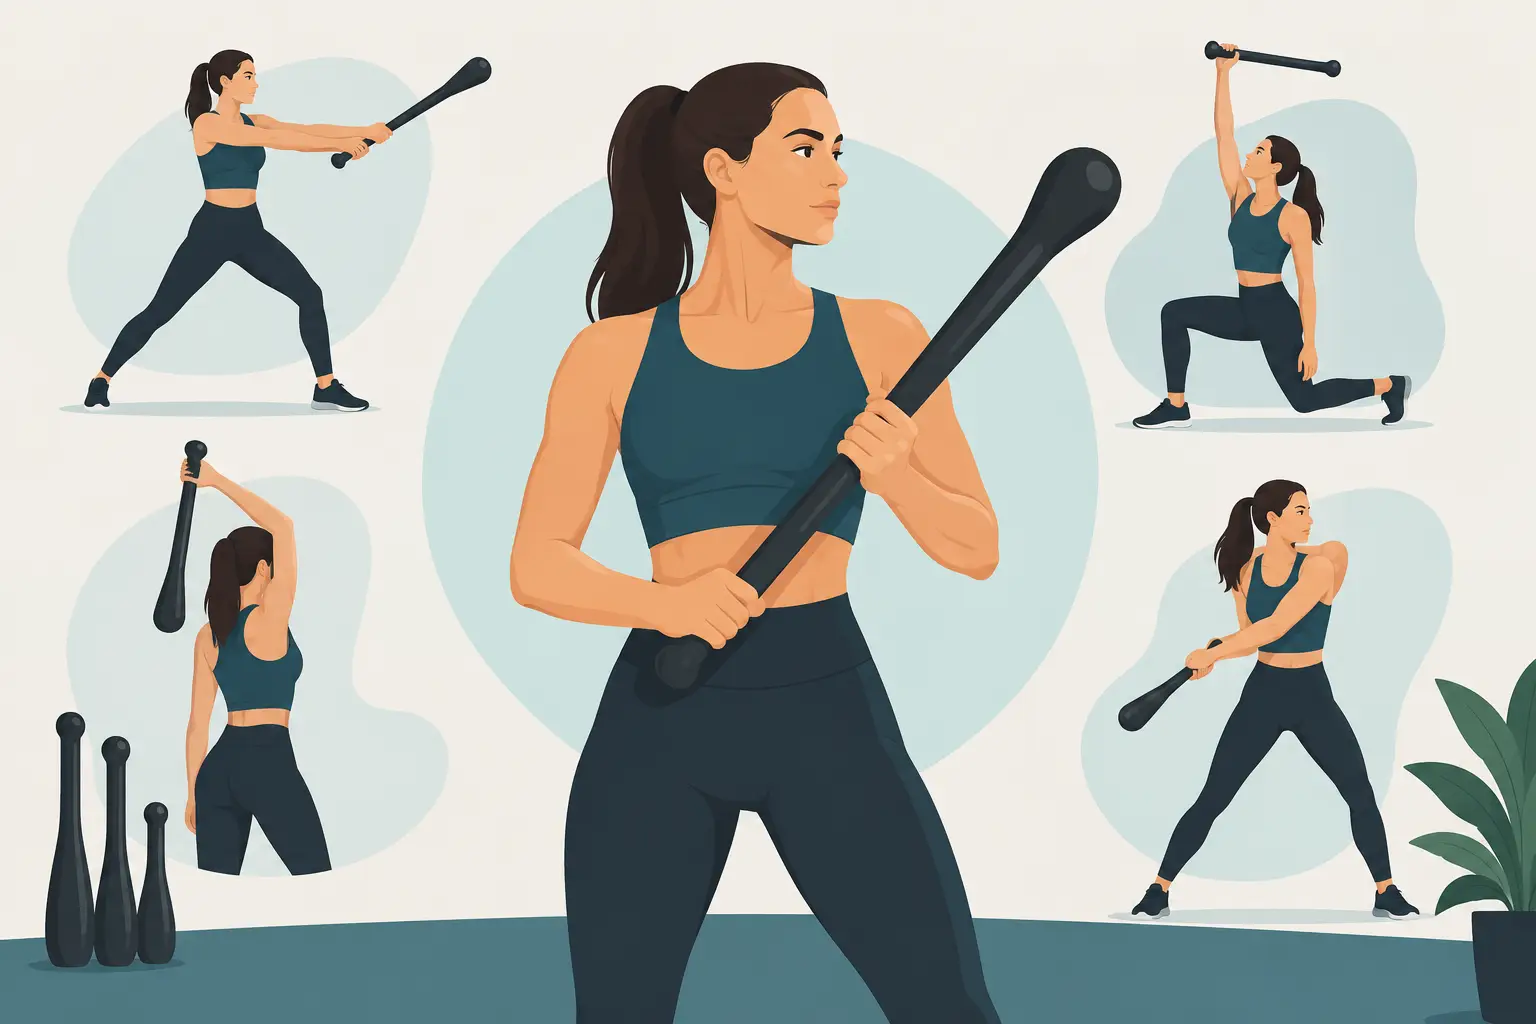
A shoulder can press hard and still fail under rotation. That is the gap clubbell shoulder exercises are built to expose and train. The offset load pulls the arm away from easy positions, asking the cuff, scapular muscles, grip, and trunk to organize every repetition. This is not a shortcut to bigger shoulders. It is work for shoulders that need to stay strong, mobile, and useful.
Clubbells reward patience. A light tool moved with clean mechanics will teach more than a heavy club forced through a shaky arc. Earn your reps first. Load them later.
Why Clubbells Change Shoulder Training
A dumbbell places most of its mass near the hand. A clubbell carries its mass farther from the grip. That longer lever increases torque, so even modest loads demand more control from the shoulder and forearm.
The value is not simply that clubbells feel harder. Their shape makes circular patterns practical. Those patterns train the shoulder through changing angles while requiring the shoulder blade to move with the arm instead of being pinned down. When performed well, club work develops coordination between the hand, elbow, shoulder, ribs, and hips.
That does not make clubbells a replacement for presses, rows, pull-ups, or heavy carries. They fill a different role. Use presses and pulls to build broad strength. Use clubbells to build control in ranges where linear lifting often gives you less practice.
For athletes, that may mean cleaner force transfer in throwing, striking, grappling, or contact. For lifters and desk-bound adults, it often means more awareness of shoulder position and less stiffness during overhead work. Results depend on technique, training history, and whether pain is present. A painful shoulder needs assessment, not a new exercise variation.
Before You Start Clubbell Shoulder Exercises
Choose a load that allows slow, quiet reps. The club should not pull your ribs up, twist your torso, or force your wrist into an awkward angle. Many strong lifters start too heavy because they judge a clubbell by the number on the side. The lever changes the game.
For dedicated shoulder practice, a light steel clubbell is usually the right starting point. If you are new to offset tools, begin with a weight you can control for five to eight deliberate repetitions per side, with no grinding. You should be able to stop the club at any point in the path. If you cannot, reduce the load or simplify the movement.
Set your stance about hip-width. Keep your feet rooted and knees soft. Brace your midsection without holding your breath. Let the shoulder blade rotate and glide, but do not let the ribs flare to manufacture range. A smooth shoulder pattern starts with a stable trunk.
Warm up with a few minutes of easy movement: wrist circles, shoulder blade push-ups, light band pull-aparts, and unloaded arm circles work well. The goal is not fatigue. It is to arrive at the first set with enough range to move honestly.
8 Clubbell Shoulder Exercises Worth Learning
1. Front Pendulum
Hold the club vertically in front of your body with one hand near the end of the handle. Start with the club head down, then allow it to swing forward and back in a small, controlled pendulum. Keep the elbow softly bent and the shoulder packed without shrugging.
This is a low-risk way to learn the club's pull. Do not chase a large swing. The shoulder should guide the club, not get yanked by it. Perform six to 10 controlled reps per arm.
2. Side Pendulum
The side pendulum uses the same principle, but the club travels beside the body. Stand tall, let the club move slightly out and in, and resist the urge to lean away from the load.
This variation challenges frontal-plane control, which matters when the arm is pulled away from the torso. Keep the range small until the shoulder stays level and the trunk remains still.
3. Shield Cast
Bring the club upright in front of your chest as though holding a shield. From there, guide the club head behind one shoulder in a short arc, then return it to the front. Keep your wrist neutral and your elbow close enough to maintain control.
The shield cast teaches the transition toward more demanding circular work. Start with a partial range. Your neck should stay long, and the club should move quietly. If your shoulder pinches at the back of the motion, shorten the range and revisit your setup.
4. Outside Circle
Hold the club in front of the body and draw a controlled circle outward, up, and back to the starting position. Think of tracing a small halo beside the shoulder rather than throwing the club around your head.
Outside circles train control as the load moves away from your center. Keep your ribs down and avoid turning the exercise into a full-body twist. Six slow circles in each direction are enough for a quality set.
5. Inside Circle
The inside circle follows the opposite path, bringing the club across the body before it travels up and outward. This direction can feel less natural because the load crosses the midline and challenges the shoulder's ability to stay centered.
Move slower than you think you need to. The purpose is not speed. Feel the shoulder blade move around the rib cage while the arm stays connected to the trunk.
6. Single-Arm Mill Preparation
A full mill is earned through positions, not forced by momentum. Begin with the club in front-rack position. Guide it outward and back only as far as you can keep the elbow organized and the club under control, then return to the rack.
This partial pattern builds familiarity with the behind-the-shoulder path without demanding the full circle. Use a very light clubbell. Three to five reps per side can be plenty when the tempo is strict.
7. Two-Handed Front Circle
Grip the handle with both hands, keeping the club centered in front of the body. Guide the head through a smooth circle, changing direction after each set. The second hand reduces the balance demand and lets you focus on shoulder blade rhythm and trunk position.
This is an effective option for beginners, heavier clubbells, or warm-up work before single-arm patterns. Do not let the club pull your hands far from the body. Control improves when the path stays compact.
8. Offset Overhead Hold
Press or guide the club to a stable overhead position only if you can do so without pain or rib flare. The club may be held vertically or at a slight angle, depending on the design and your control. Hold for 10 to 20 seconds while maintaining a quiet wrist, steady breathing, and a stacked rib cage.
This is not a max-effort overhead test. It is a positional strength drill. The offset load asks the shoulder stabilizers to make small corrections without swinging through an arc.
How to Build a Productive Session
Start with two or three movements, not all eight. A beginner session might pair front pendulums, shield casts, and two-handed front circles. An experienced lifter could use inside circles, mill preparation, and overhead holds after pressing or pulling work.
Train clubbell shoulder exercises two or three times per week. Keep most sets in the five- to 10-rep range per side, or use 10- to 20-second holds. Rest long enough that every set looks similar. If technique degrades sharply, the session has reached its useful limit.
Progress in this order: first improve the path, then add repetitions, then add range, then add load. Speed comes last. Faster circles can build conditioning and rhythm, but only after you own the brakes. A clubbell moving quickly with poor shoulder position is not athletic training. It is a loose object near your head.
Common Errors That Steal the Benefit
The most common mistake is using momentum to hide a weak position. The club accelerates, the elbow drifts, the ribs pop up, and the torso rotates to finish the rep. The movement may look impressive, but the shoulder is no longer doing the intended work.
Avoid gripping the handle as if you are trying to crush it. A secure grip matters, yet excessive tension can make the wrist and elbow rigid. Keep control without strangling the tool. Also avoid forcing range because you saw a deeper circle online. Shoulder anatomy, prior injuries, and thoracic mobility differ. Your usable range is the one you can control without compensation.
If you feel sharp pain, numbness, catching, or lingering irritation, stop the drill. Reduce range or load only when the sensation is clearly muscular effort, not joint pain. Persistent symptoms belong with a qualified medical or rehabilitation professional.
A clubbell is honest equipment. It makes weak links visible, but it also gives you a disciplined way to strengthen them. Start light, keep the circles clean, and let every controlled repetition build the shoulder capacity you can rely on when training gets heavy.